
Philly Stone Queen Bathroom Reveal - Part One
BRIAN WETZEL Photographer
KRISTI HUNTER Stylist
Five years ago, when we moved into our beloved #PhillyStoneQueen, we had a long list of projects. At the top of the list were our bathrooms, which were conveniently left out of the listing photos. Neither of the two full bathrooms had been touched in years, and it showed. From peeling vinyl floors, to dated fixtures, our bathrooms were in serious need of updating.

For the size of our house (3,000 sq. ft.) our bathrooms are decidedly small. In fact, our primary closet is larger than both the full bathrooms. Luckily for us, we haven’t felt the need to have large bathrooms since we are more “in and out” bathroom people – I’m sure our time in the military helped form this habit!
After three years of planning and dreaming, we decided it was high-time to take action and get our bathrooms in order. When I thought about designing the bathrooms, I wanted to focus on a couple things in particular: smart layout, storage solutions, maximizing the square footage, and a strong reference to natural materials.
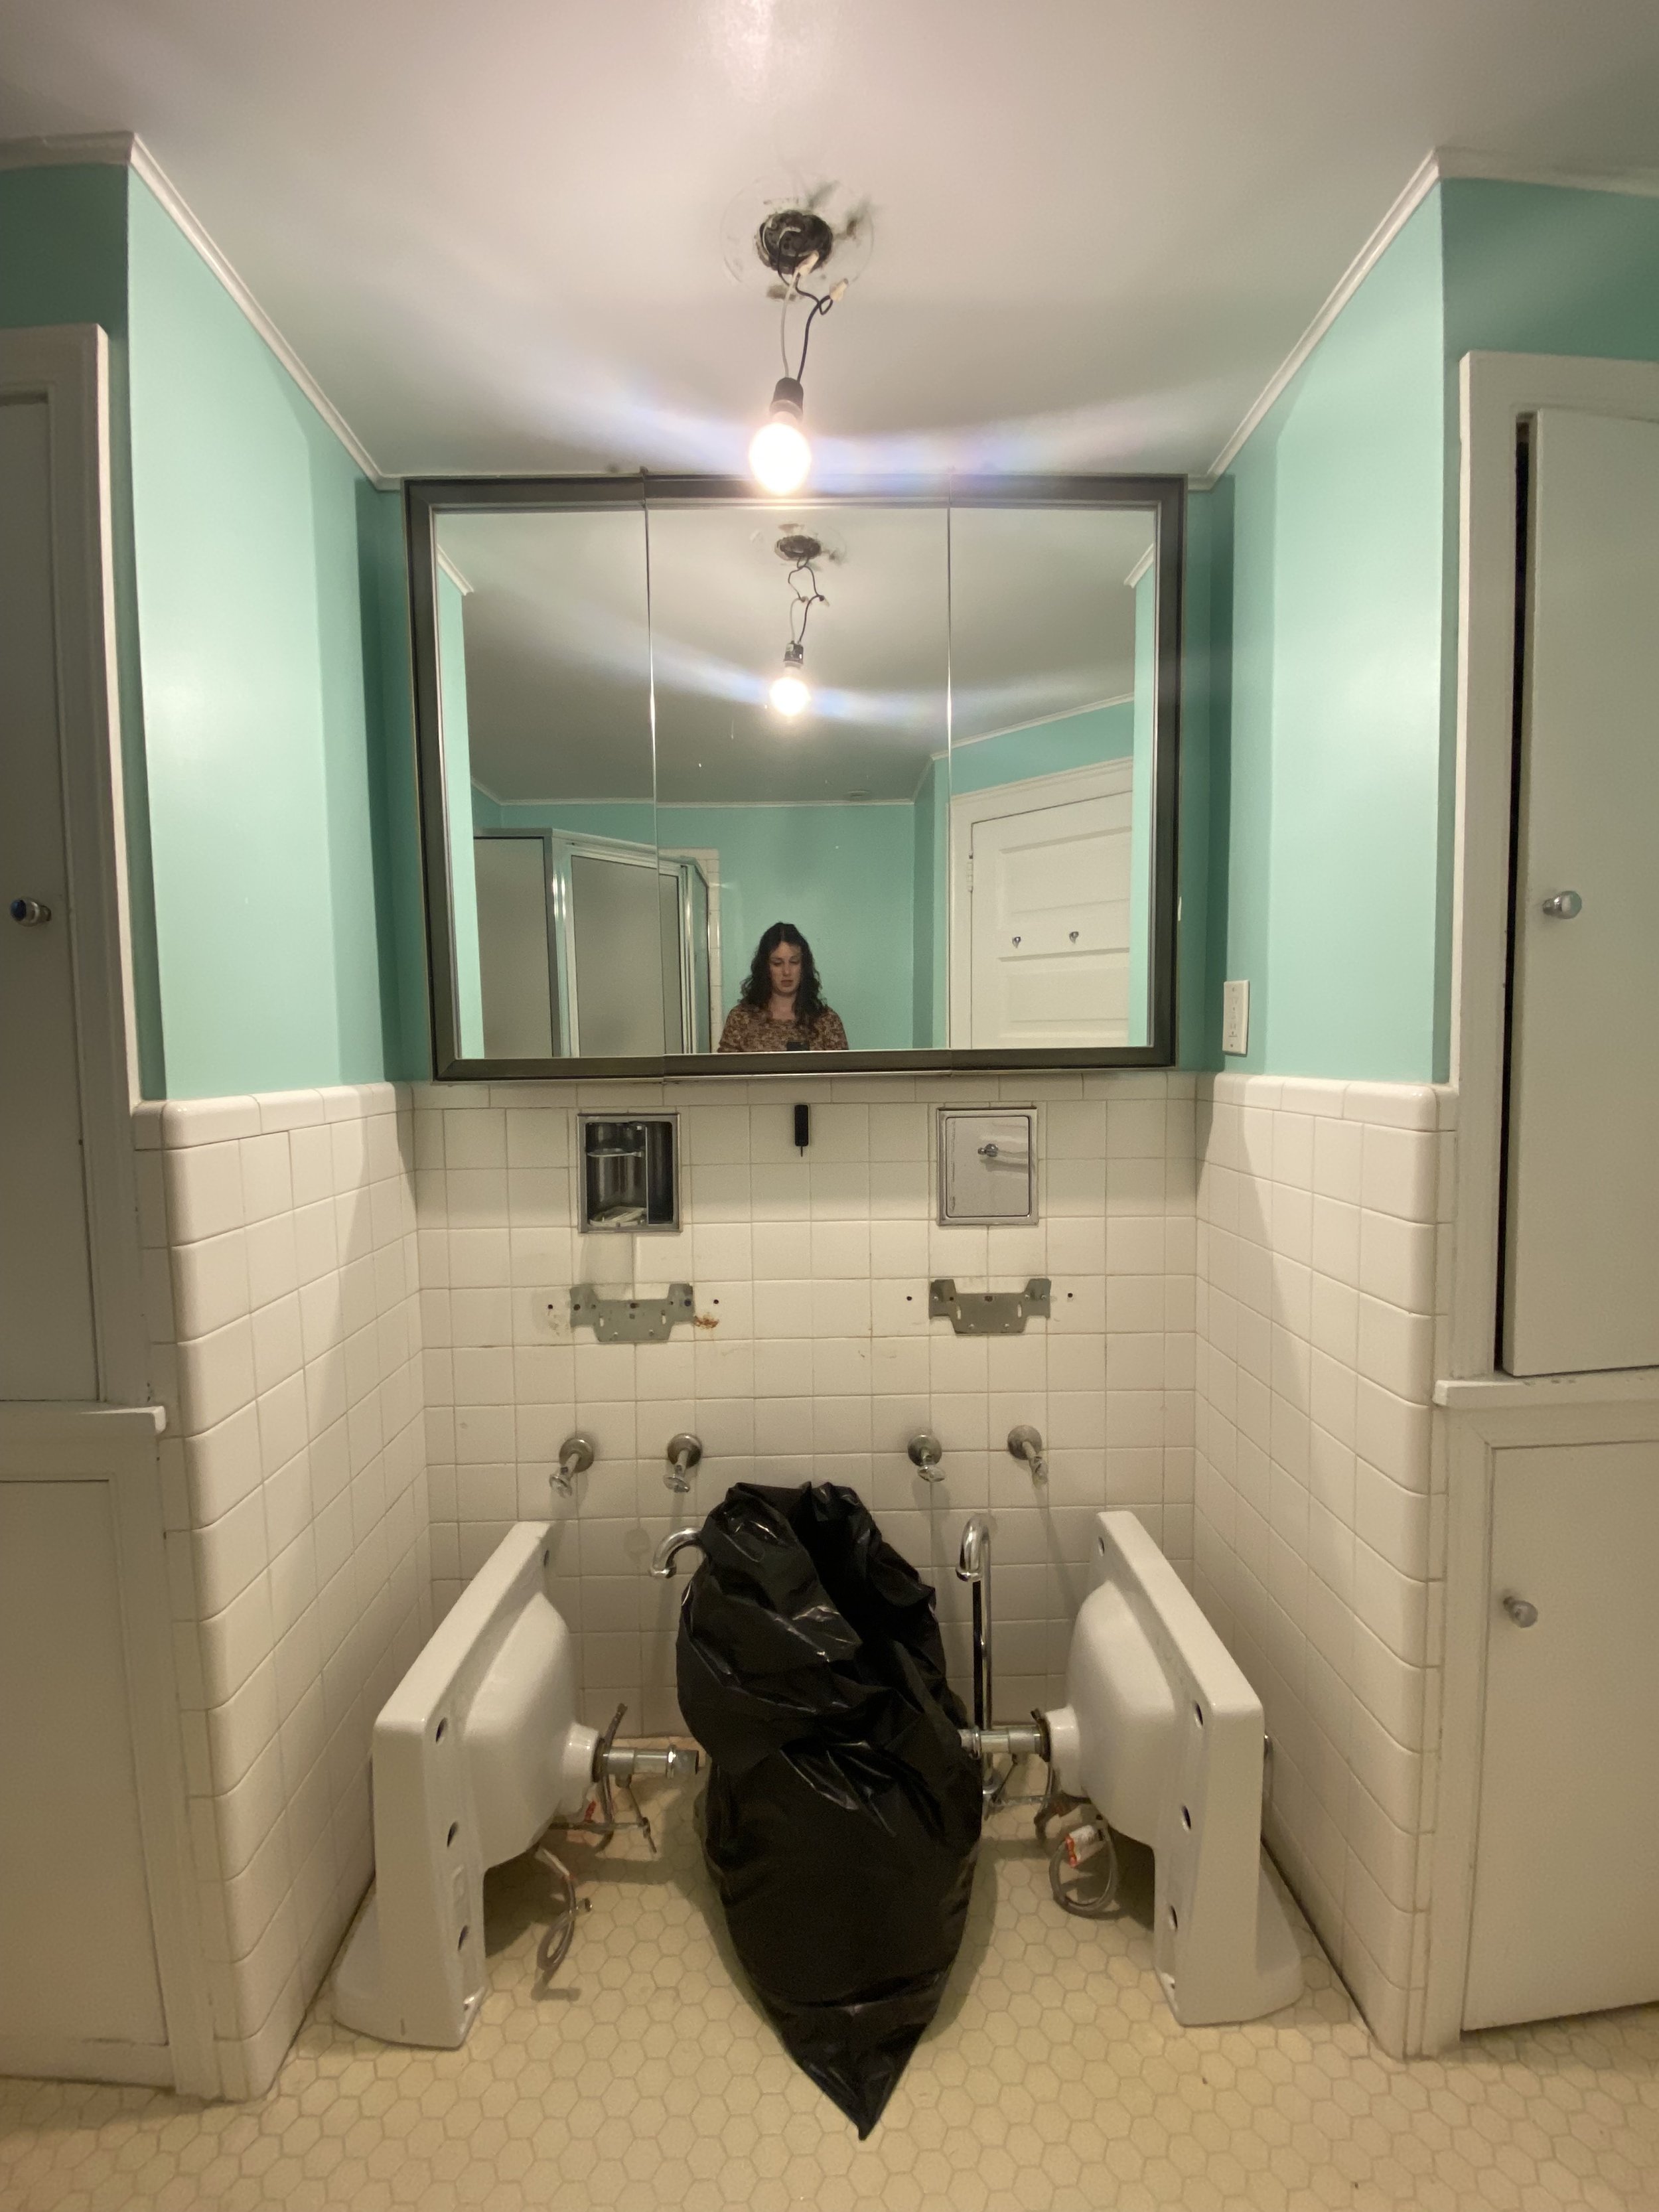
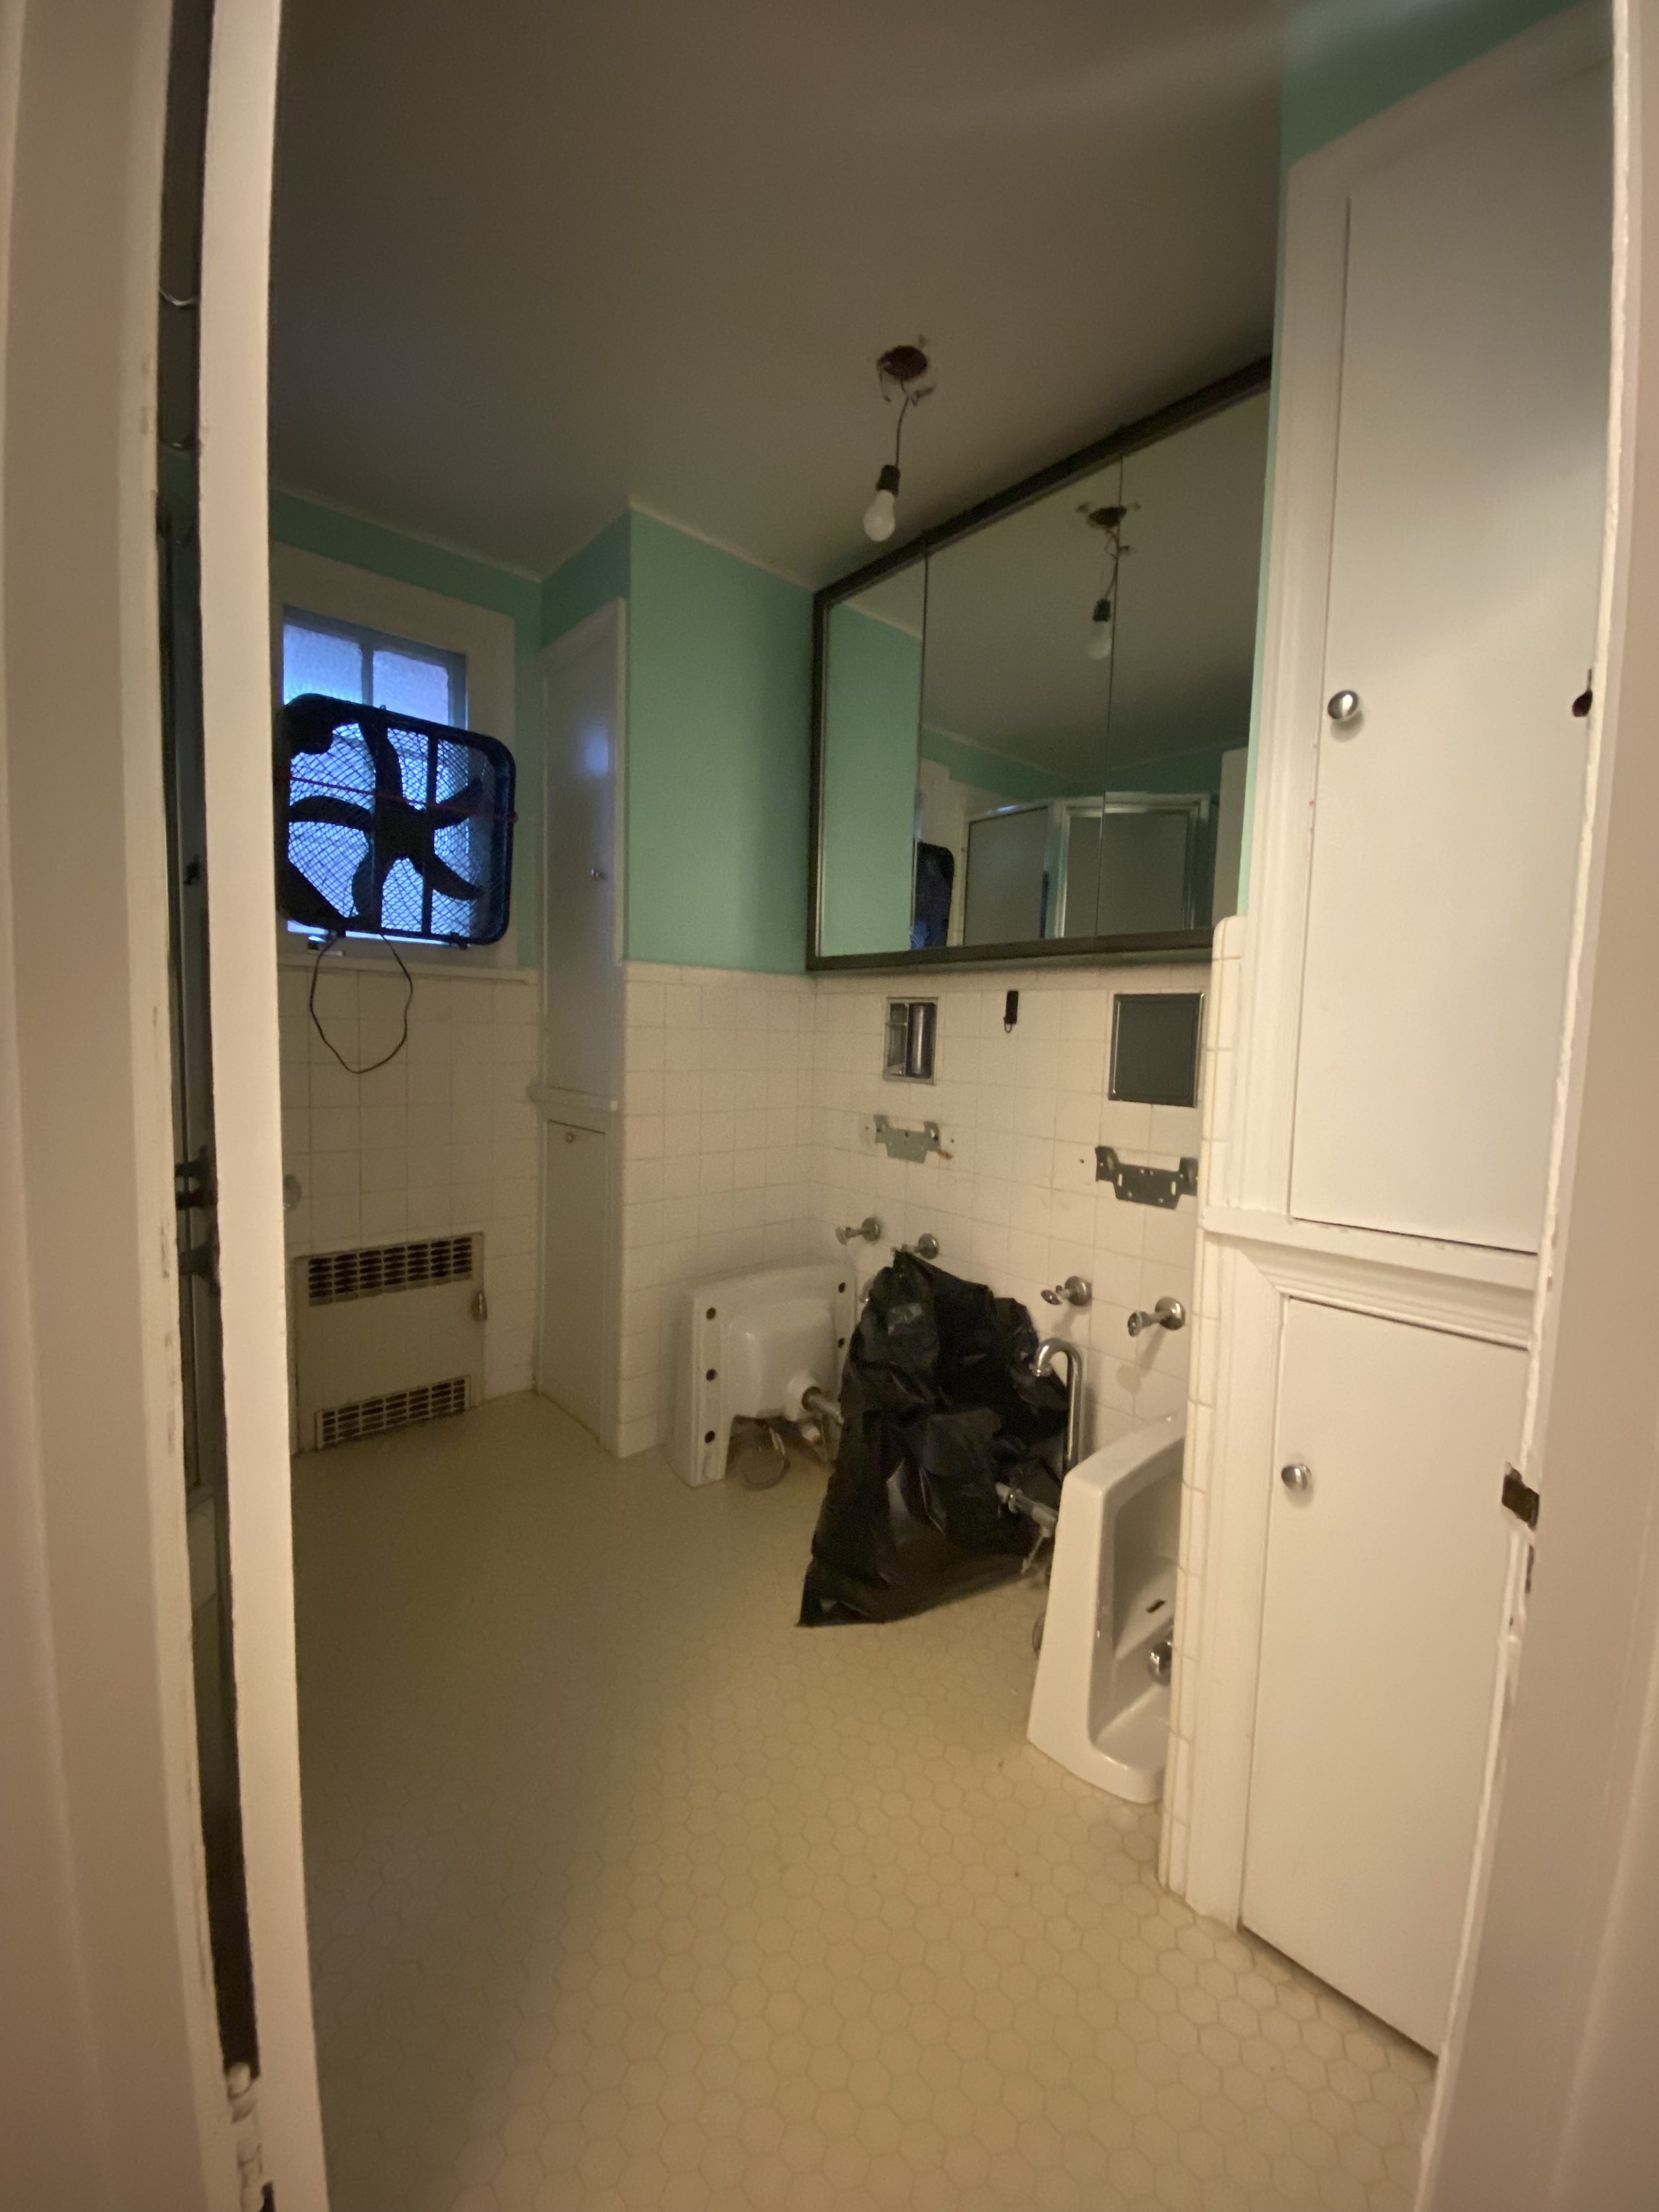
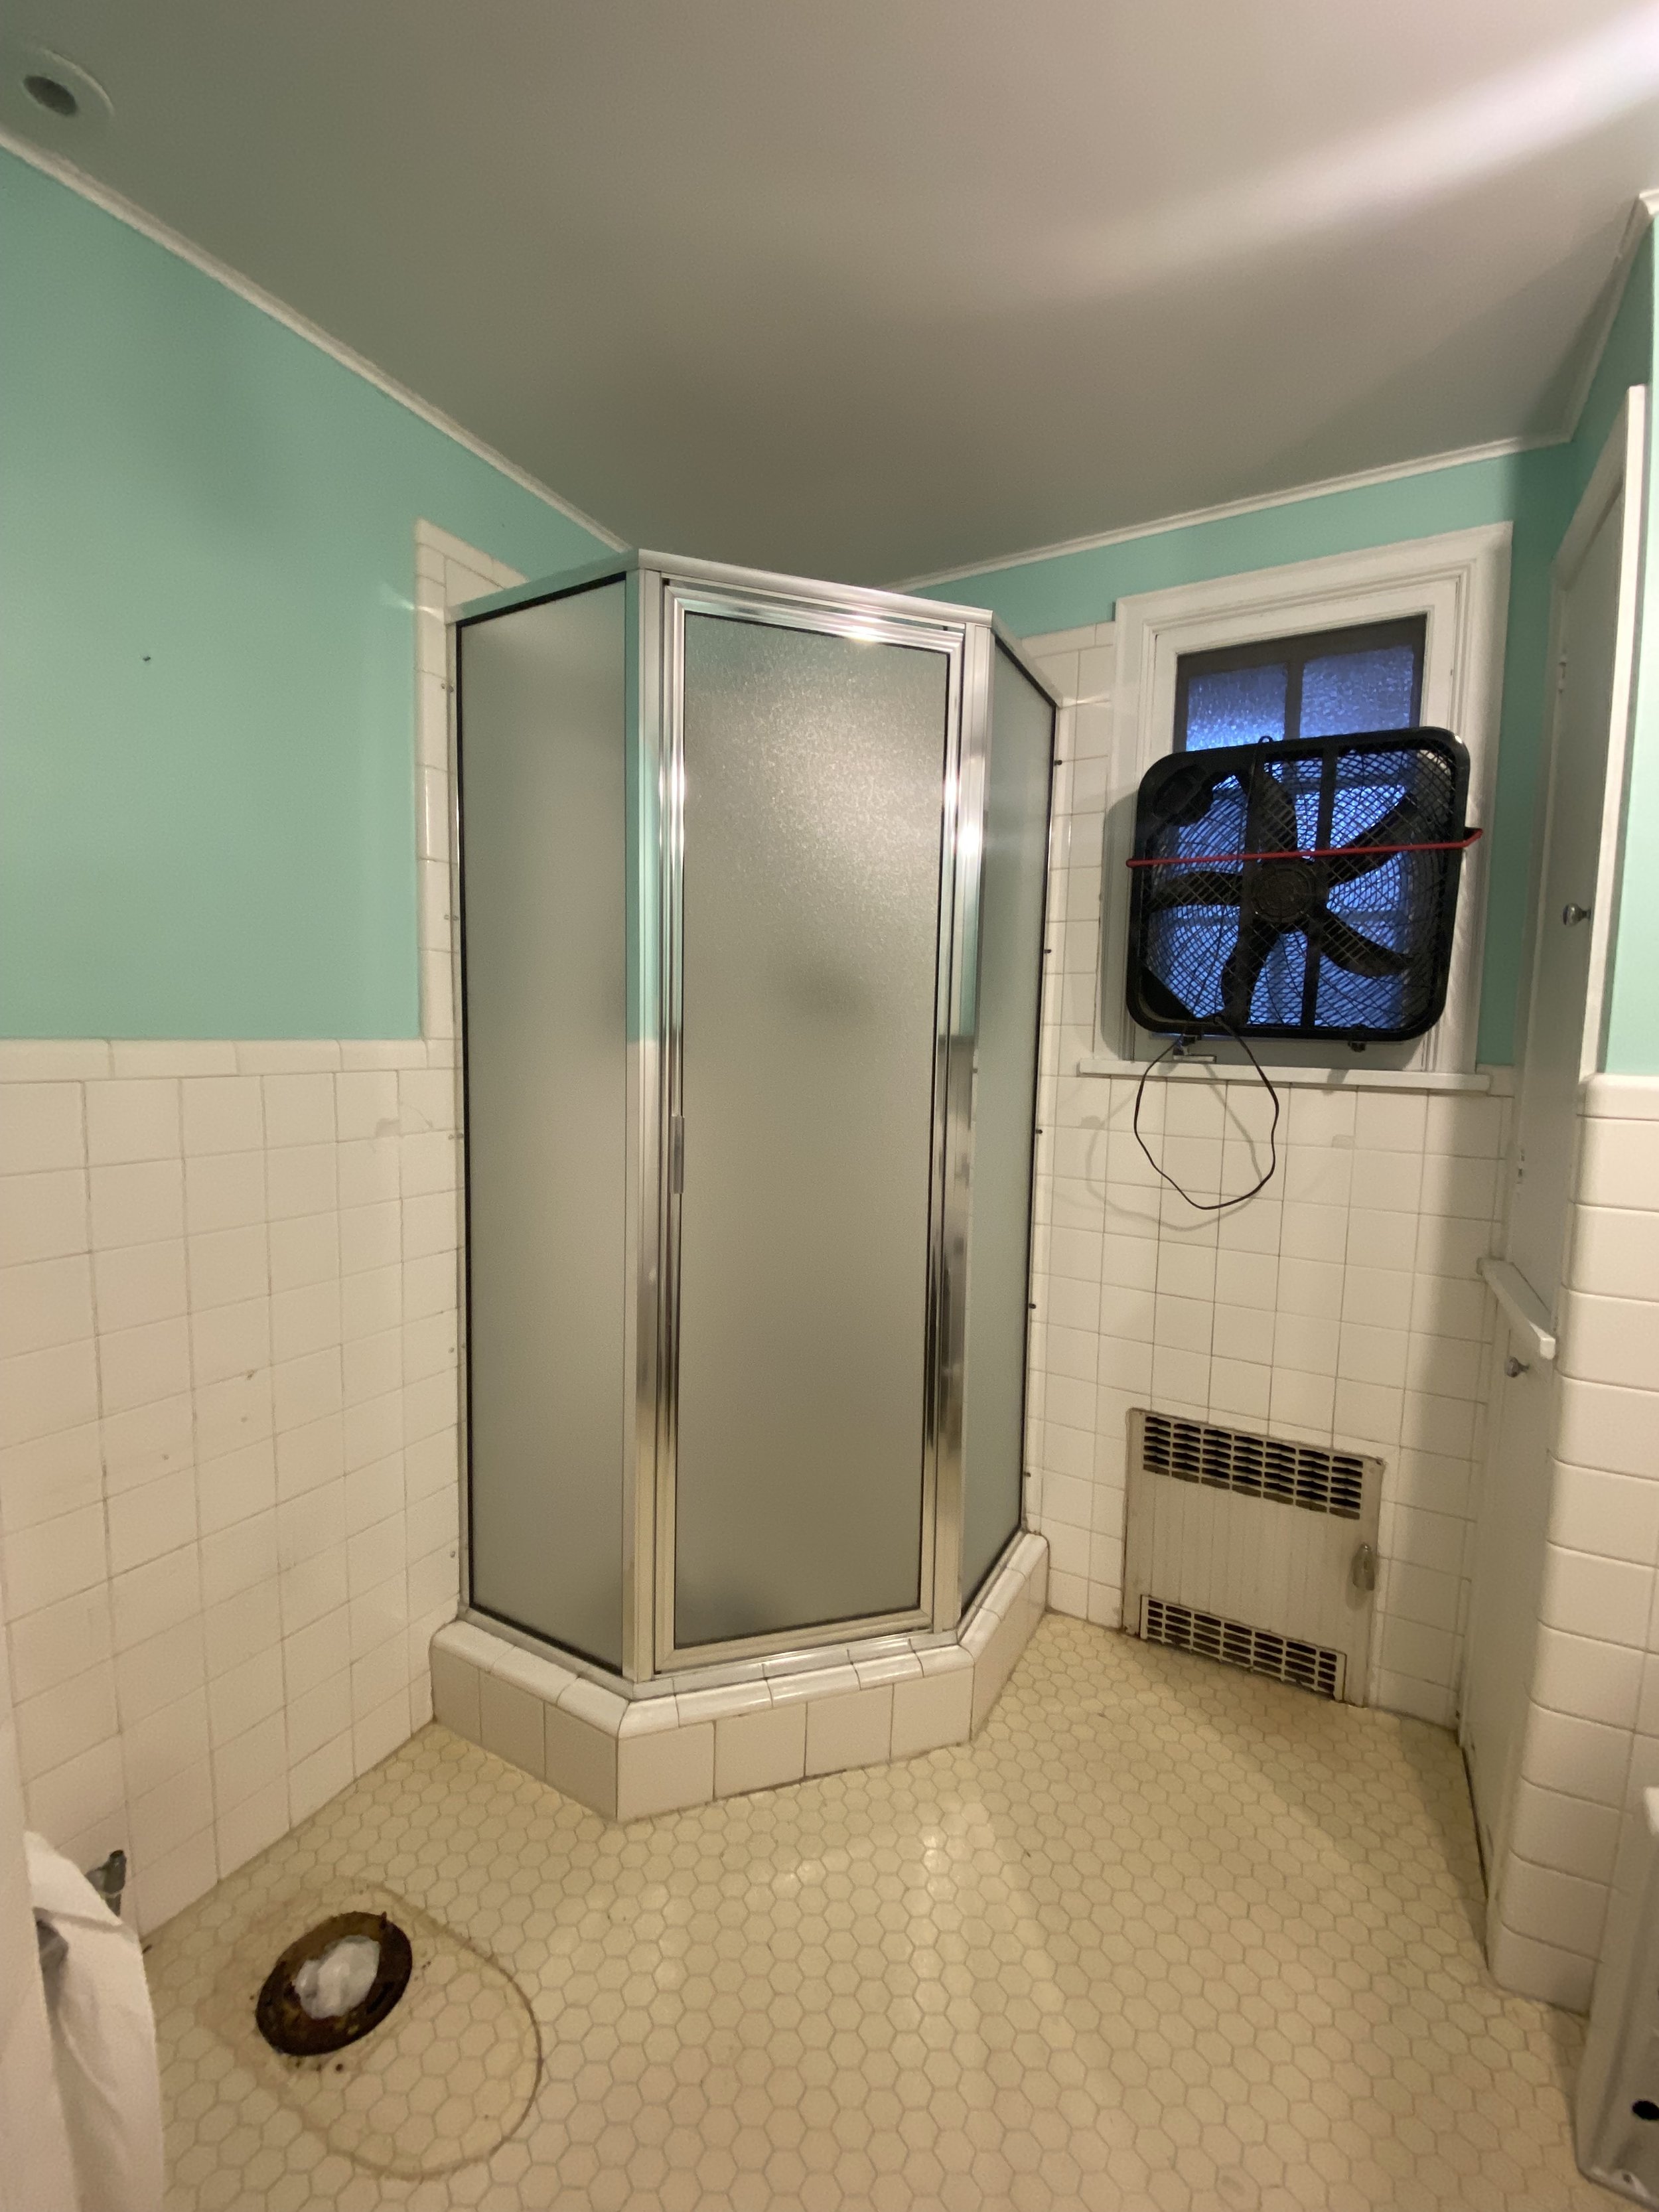
before photos
The second floor presented some unique challenges, not only in the small footprint, but the overall shape of the space. This bathroom is located on the second floor, right where the hallway takes a jog to the right. As a result, the bathroom door sits on an angle creating some layout challenges. From the original layout, we knew it was possible to fit two sinks in the space and that was a feature we wanted to keep in the new bathroom.
The trickiest part of the floorplanning was how to create a shower area that felt large enough to shower comfortably and also left enough floorspace for a double vanity. The final solution rested with two key elements, a curbless shower and custom tadelakt plaster walls. The curbless shower allowed for us to keep the floor area open without a clear definition to the shower area (and the tripping hazard of a curb) and makes the bathroom feel as spacious as possible.
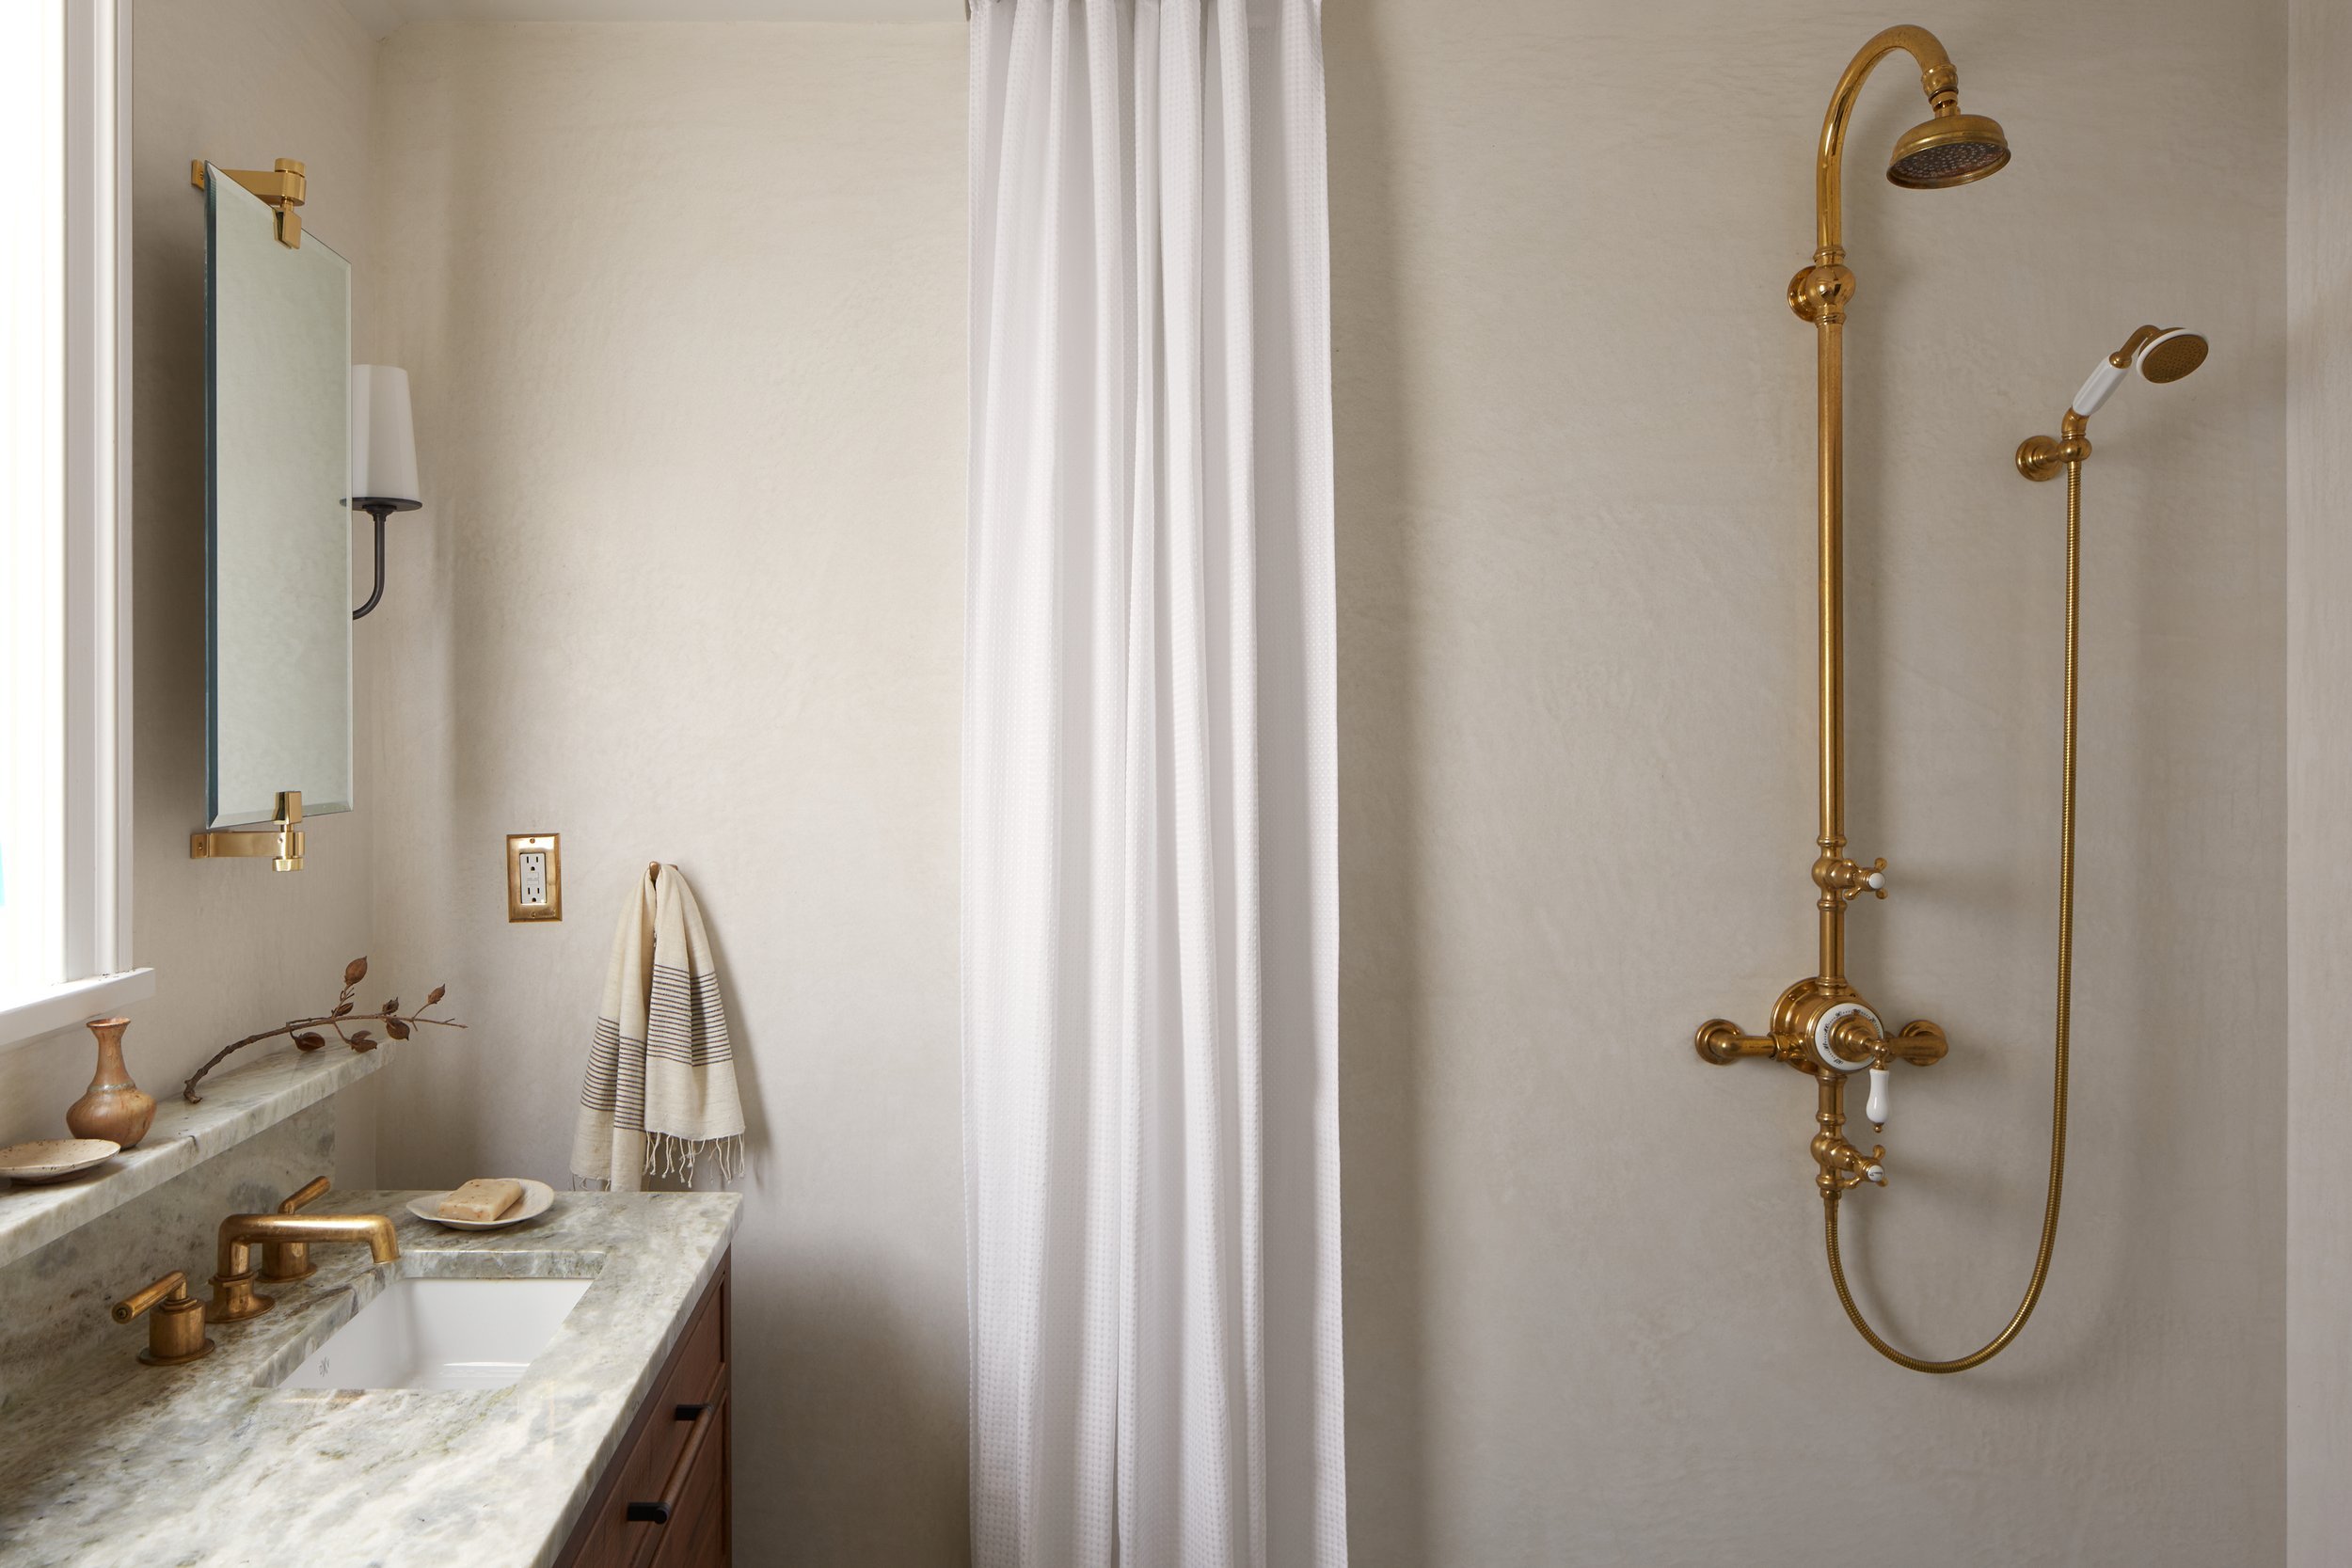
The other element that makes the bathroom feel more open are the tadelakt walls, which is a Moroccan waterproof plaster treatment that has been around for thousands of years. Made of lime plaster which is compressed, polished, and treated with olive oil soap, it’s waterproof and water repellant. Pete from Brandywine Plaster spent hours and hours creating the gorgeous finish. It has a beautiful, ethereal, and undulating character to it and is completely seamless, which allows bathroom walls to feel like one integrated surface, even in the shower area.

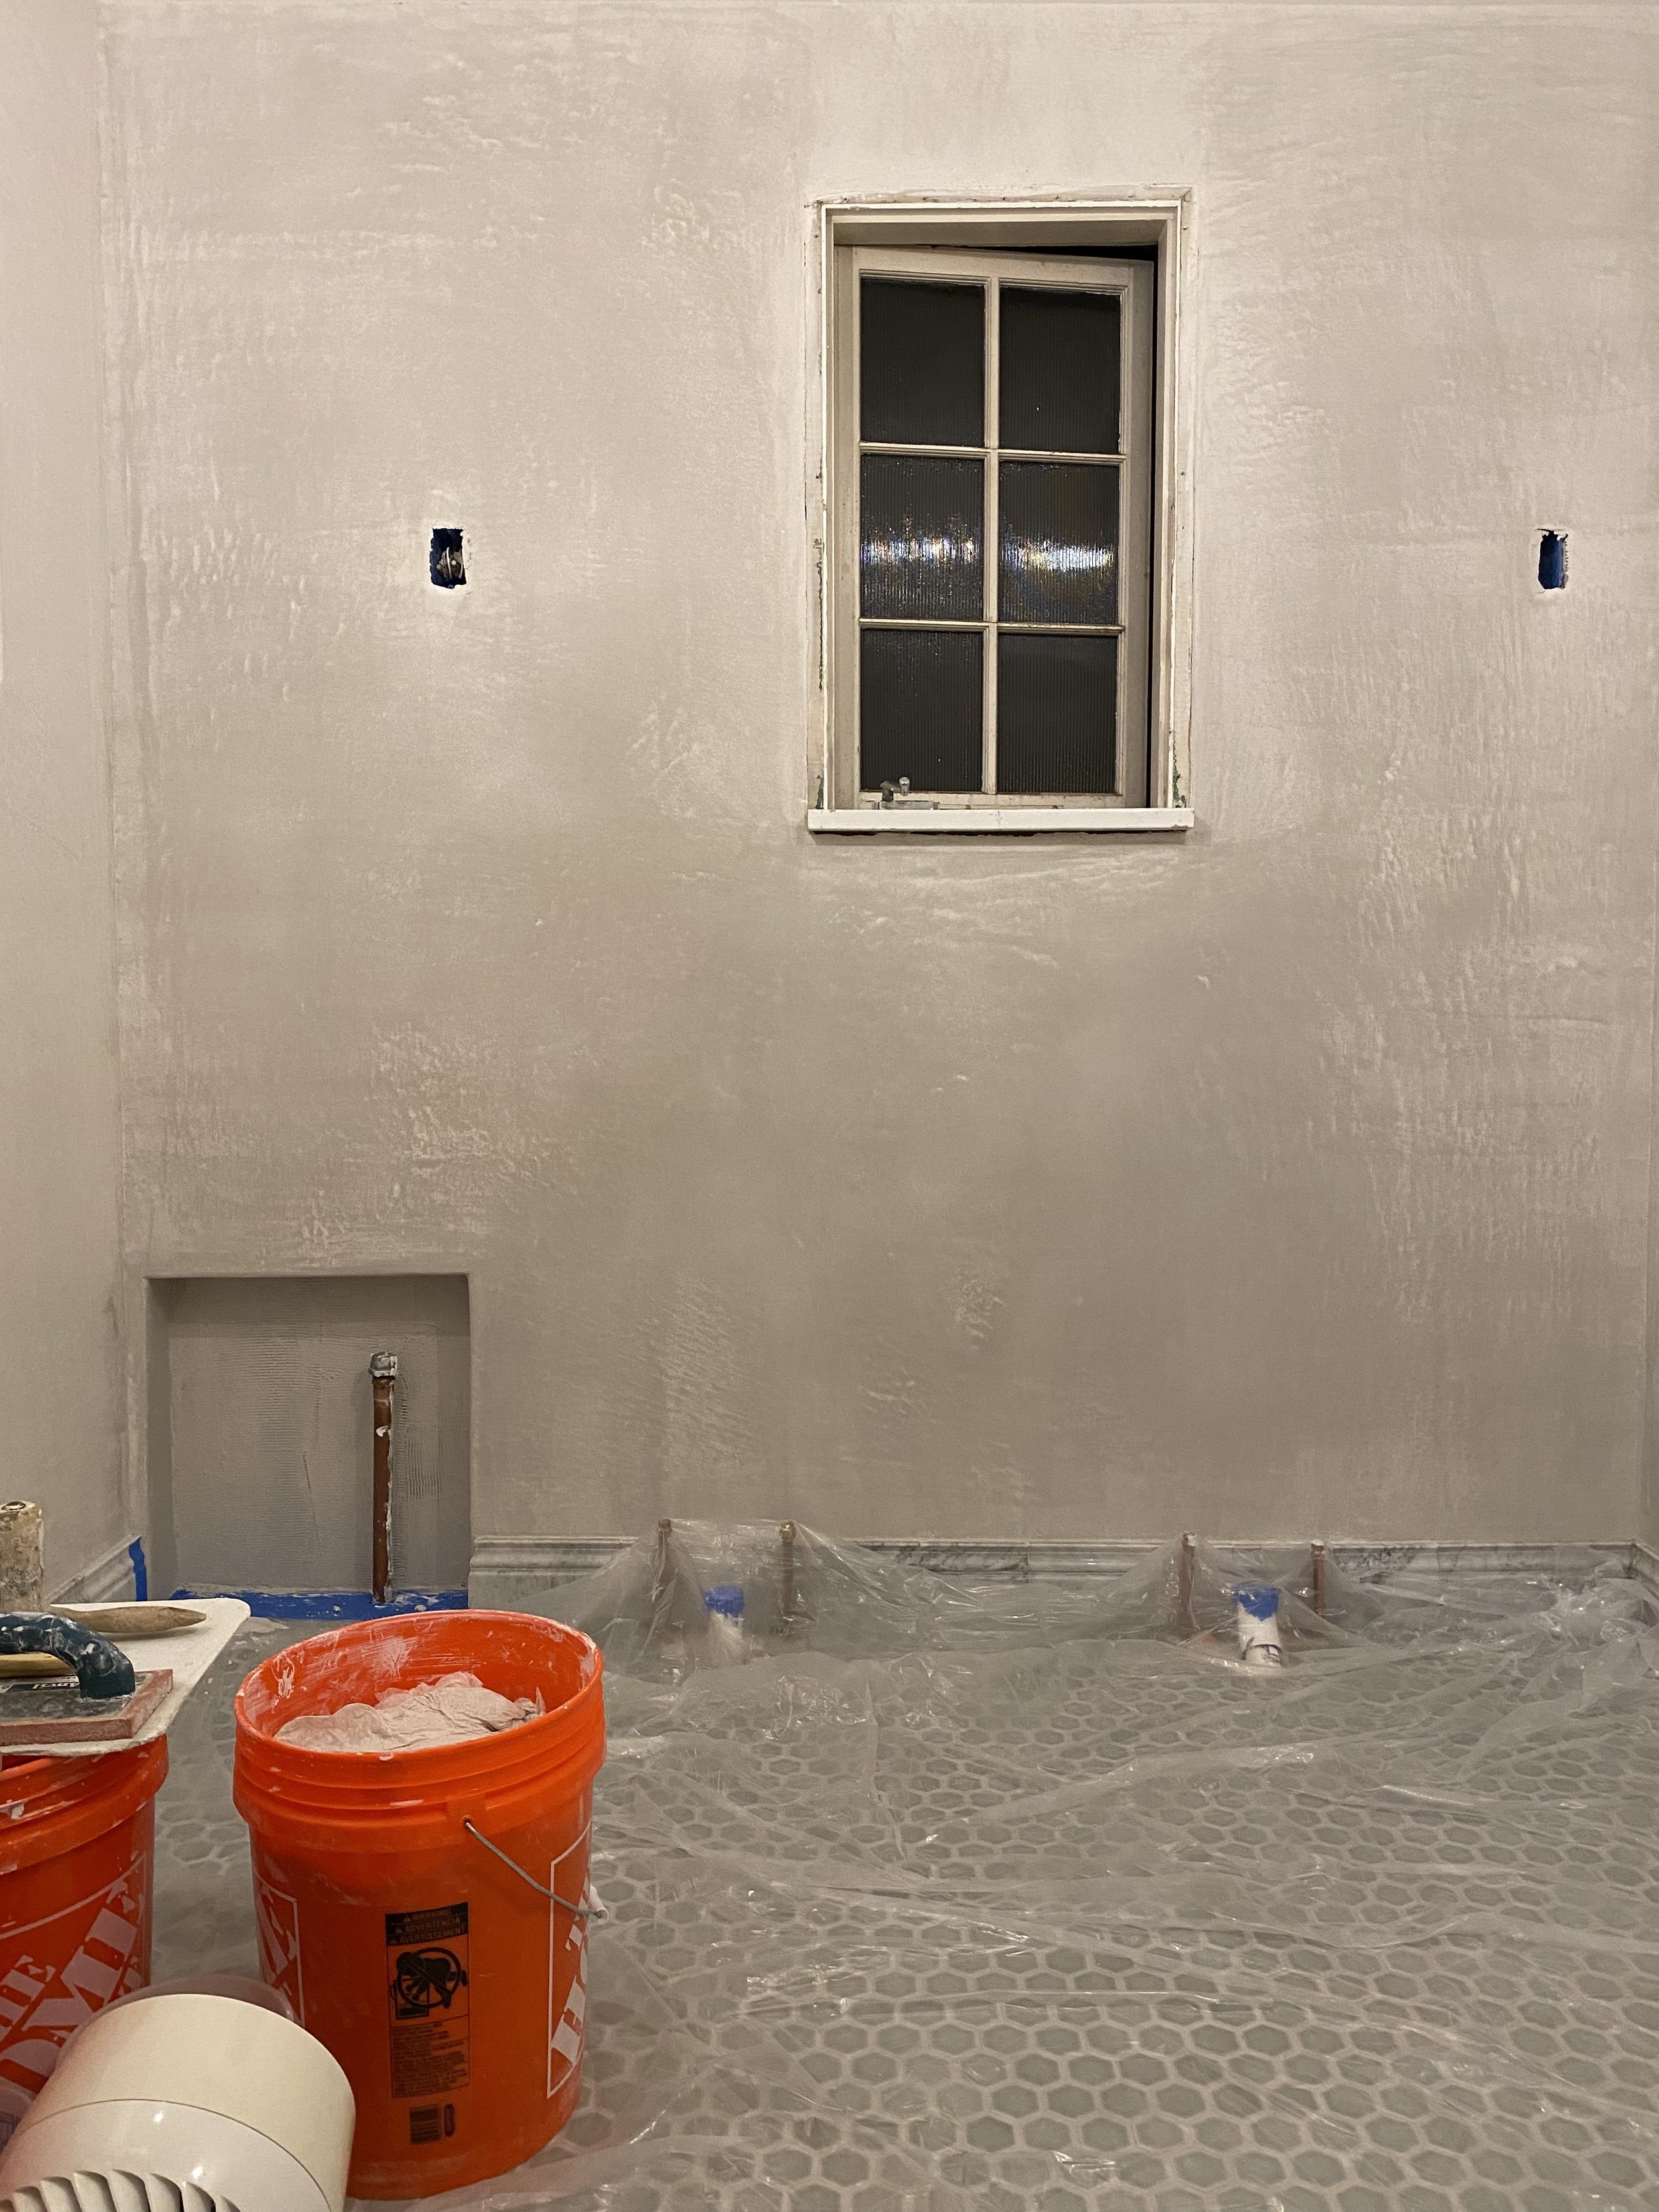

behind the scenes - Tadelakt plastering
In my initial plans, the shower was placed in the back corner of the bathroom, similar to the original layout. In demolition we discovered a steel beam along the back third of the bathroom, so the shower placement was a no-go. We quickly had to make some decisions and pivot to a new plan, moving the shower to the front part of the bathroom and placing the vanity along the exterior back wall where the one window in the space was located.
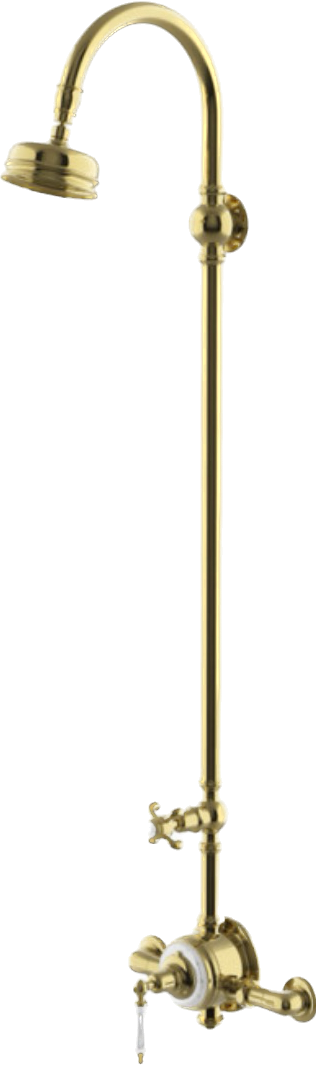
I had some reservations about the shower being in the front of the bathroom since it is right inside the door to the hallway. Since I knew the shower fixture was now going to be out in the open, I wanted it to be beautiful, like a work of art, and selected an exposed column shower in a brass finish from Waterworks that referenced the history of our home. Even though you see the shower from the hallway, I don’t mind since the fixture is so lovely to look at, and it’s perfectly highlighted by the soft tadelakt walls. A set of tiny French doors in Iron Ore by Benjamin Moore, provide a delightful entry into the new bathroom space.

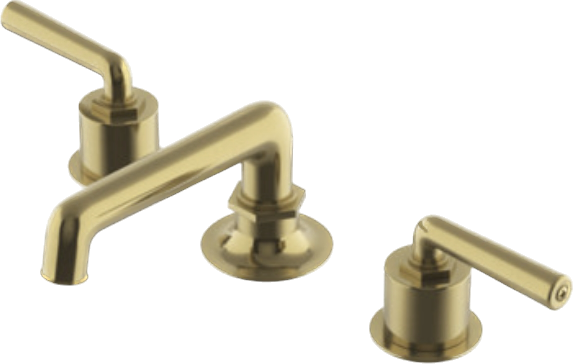
For the vanity, I wanted to create something that would be a workhorse in the space. We usually design custom vanities for our clients at Vestige Home for this very same reason - to maximize the storage space, primarily through the use of drawers. I have to say that our friends over at Leeward Woodworking did a beautiful job bringing my design to life!
“I designed the vanity with a series of drawers for storing all the bathroom things - top drawers with narrow side storage around the sinks for toothpaste, makeup rounds, hair pins, and night creams. The deeper middle and lower drawers hold more products, travel kits, toilet paper rolls and towels. The vanity is topped with fantasy brown marble with an integrated shelf on top of the splash to store our most used essentials.”

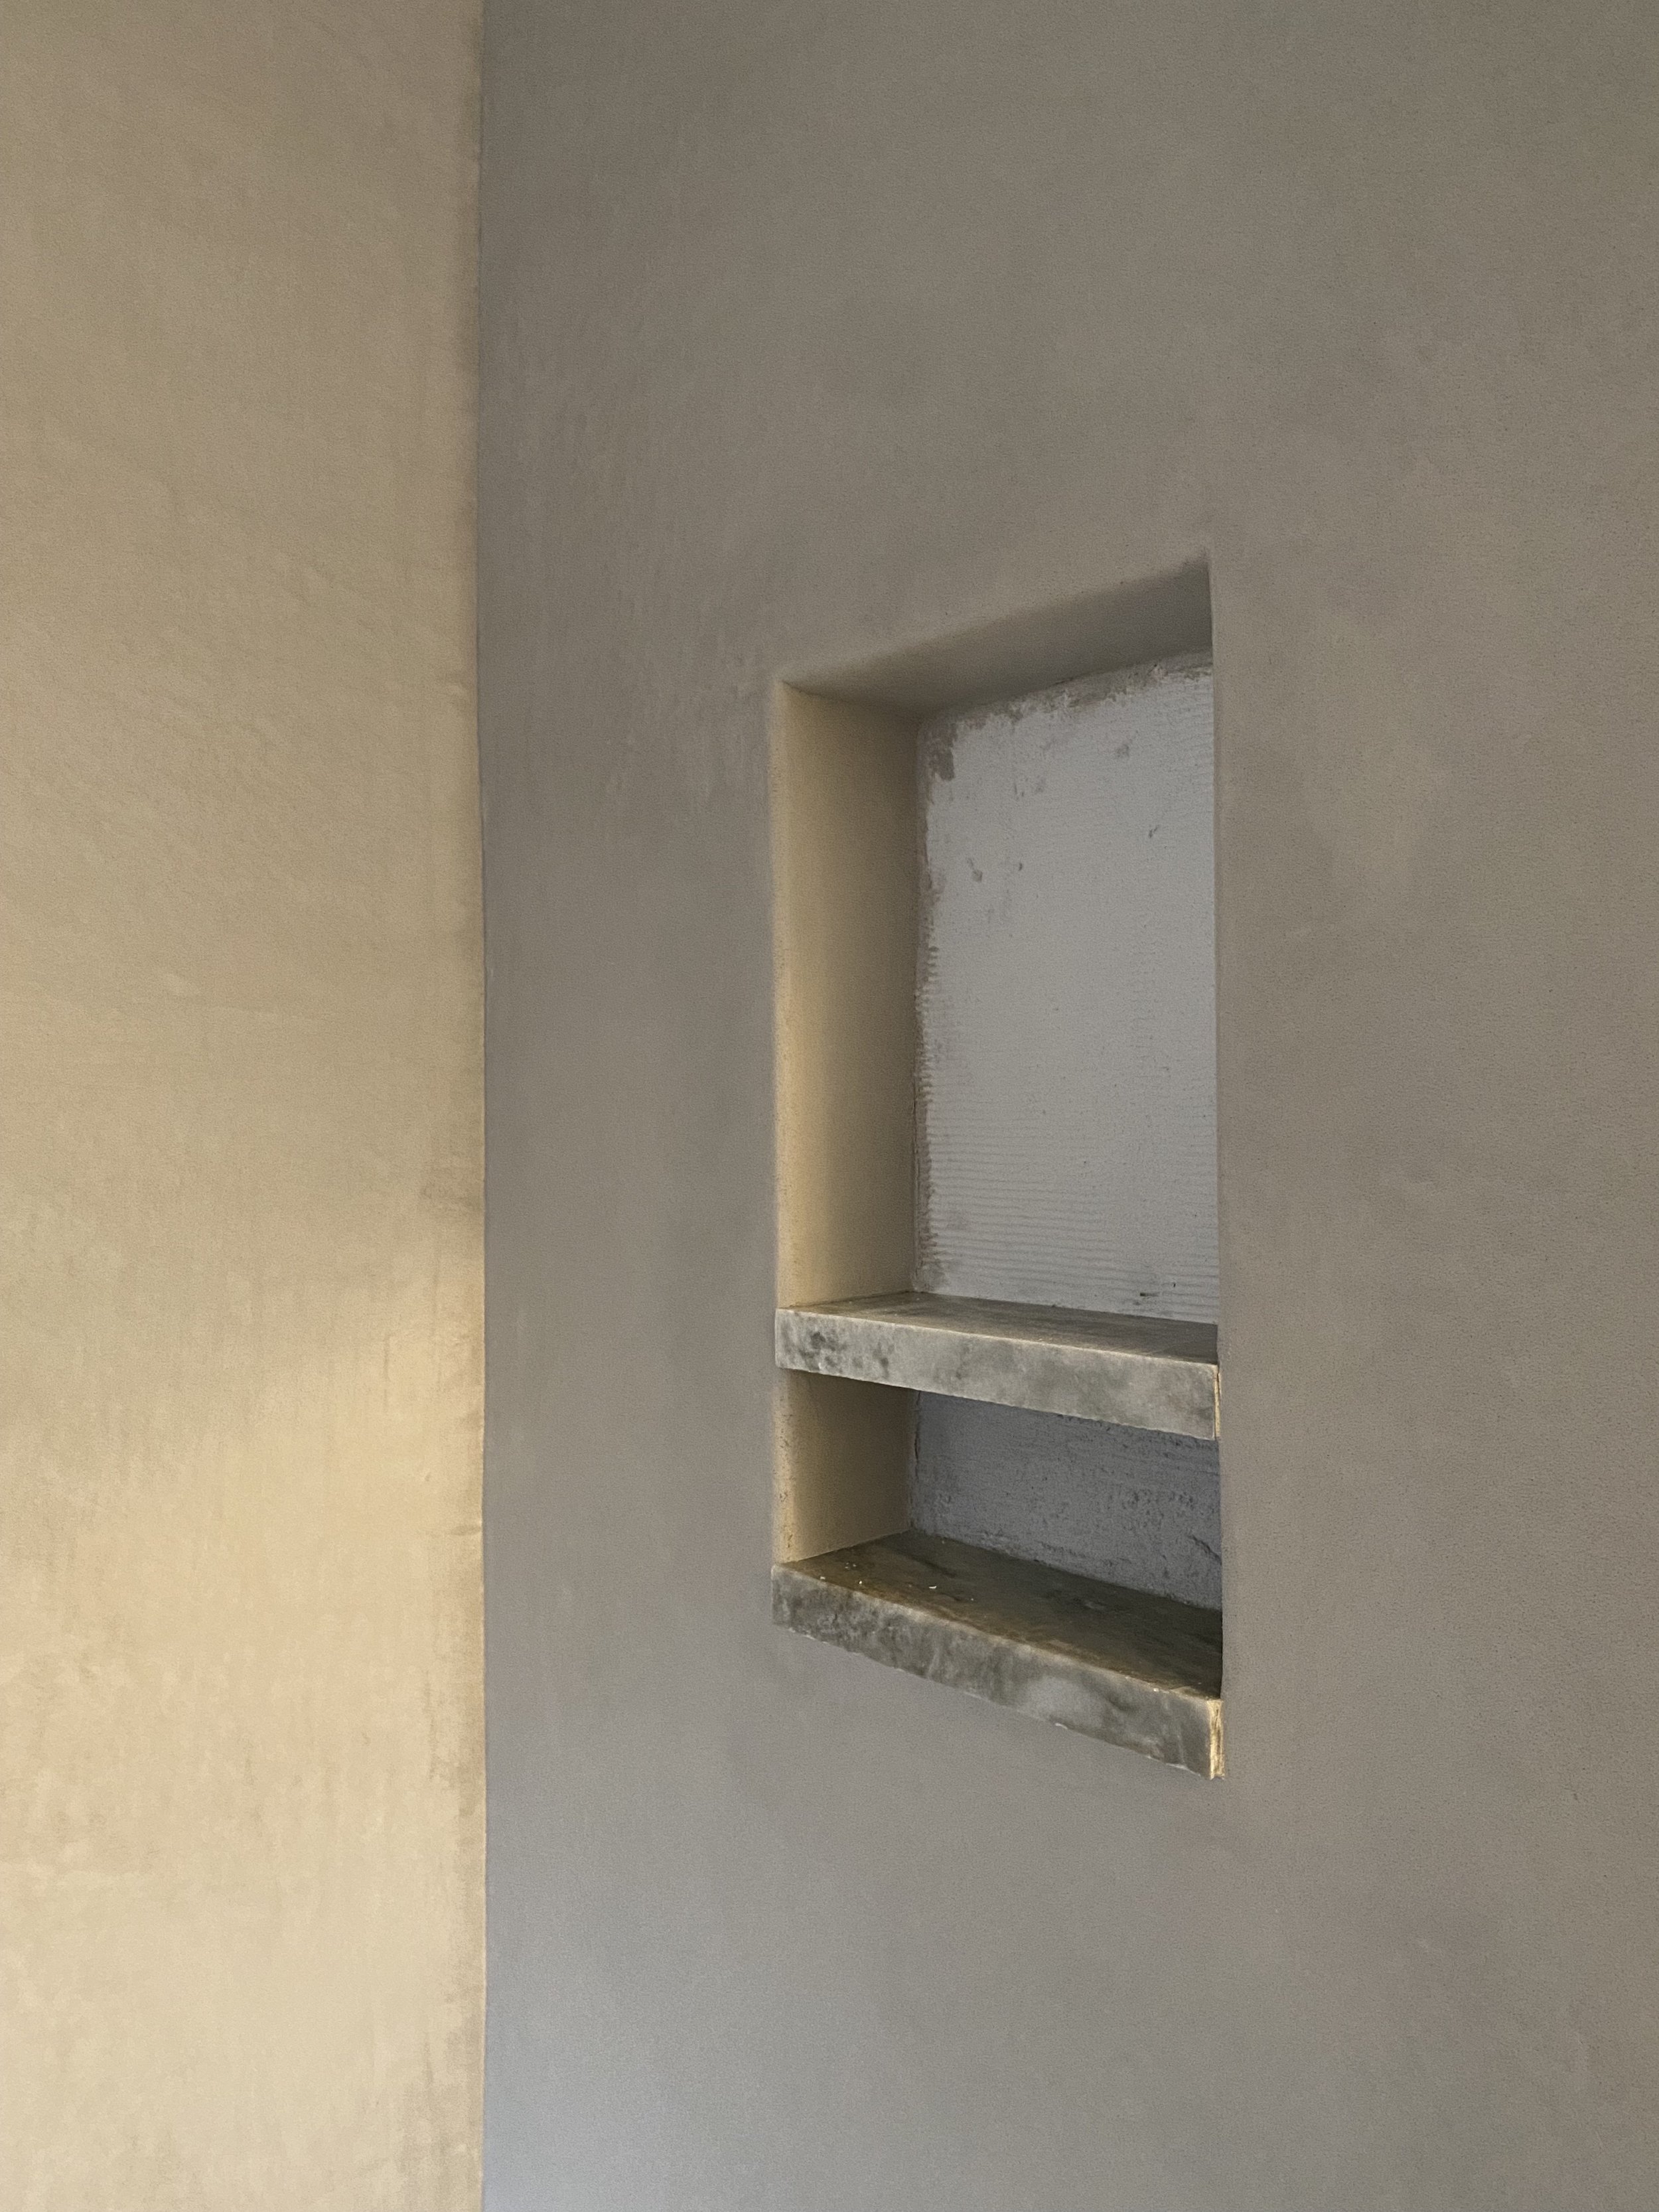
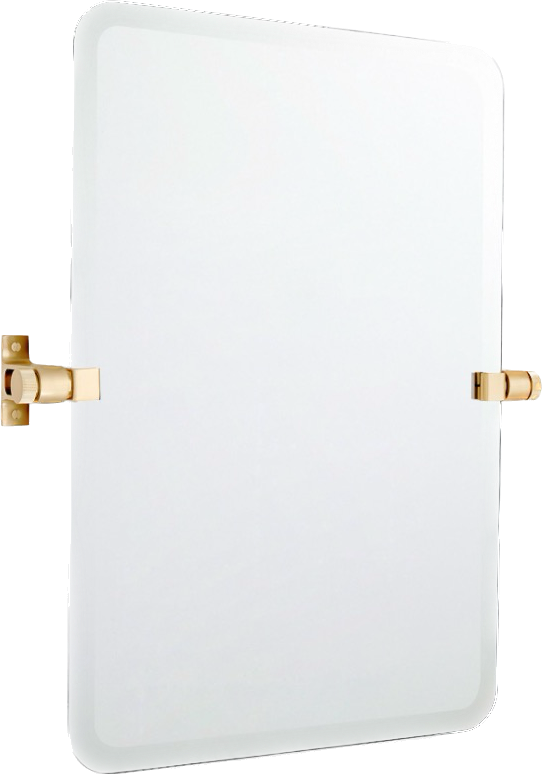
When we realized that we needed to move the vanity to the exterior wall, our dream of recessed medicine cabinets was out the door. To create some storage, we designed a small, recessed niche to the left of the vanity where we could add an outlet to charge our toothbrushes and keep a few additional care products. Pivot mirrors became the best option to work around the window above the vanity, so I purchased two pivot mirrors from Rejuvenation, flipped the orientation of the hardware to top and bottom, and had custom sized glass cut to fit the smaller scale of the space.


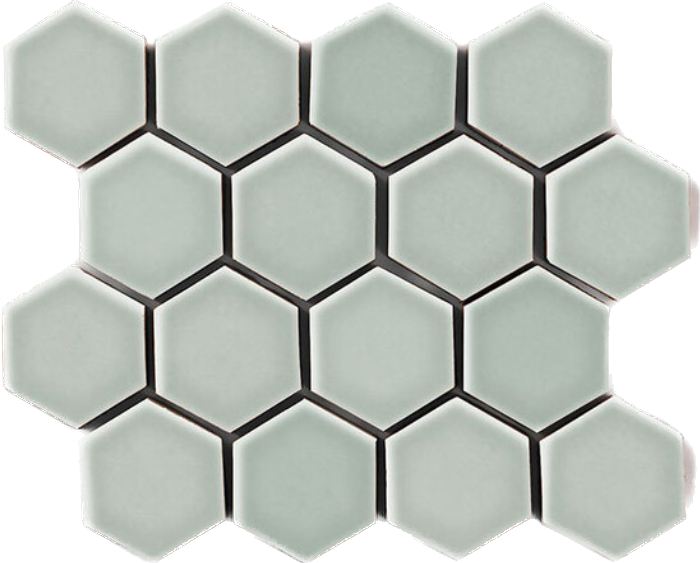
Finally, as a nod to the historic character of the house, I selected a 2’’ hex tile from our friends at Fireclay Tile in Overcast, a soft green, for the floors. A marble baseboard running around the perimeter of the bathroom adds another decorative material element and helps to keeps the shower area waterproof. A shower curtain on a curving ceiling track encloses the shower area when it’s in use and is easily pushed out of the way and against the wall when dry.
We couldn’t be more pleased with how the bathroom came together and I think that this is a perfect example of how a small space can be filled with interesting and beautiful objects that elevate the everyday. Stay tuned for Part Two of our Philly Stone Queen Bathroom Reveals!
Cheers!
Nicole
SHOP the ROOM
ALL Bathroom Sources:
Tadelakt Plaster by Brandywine Plaster
Custom Vanity designed by Nicole Cole, built by Leeward Furniture
Lighting by Restoration Hardware